Now up for sale! Here’s the photos, I’ll list the spec and what’s included later…
£6000, no offers. She is worth every penny, that is for sure!


I’ve been reading a lot on the vwt4forums.co.uk how a significant number of people disable the EGR valve from functioning. The EGR or Exhaust Gas Recirculation valve directs “spent” air from the exhaust manifold back into the combustion cycle (or something along those lines) and it’s not exactly the most efficient of systems. By blanking the EGR valve, this effectively stops the recycling, so only fresh air enters the combustion cycle.
There has been a lot of chatter about how much of a difference this makes to the feel of power in acceleration and mid-gear pick-up and I was apprehensive to be fair. I decided to get an EGR blank plate and some gasket material and make the tweak myself.
It took 10 minutes to complete.
I took the van out for a spin the next morning, my usual route to work and the van felt completely different. I am really pleased with the extra pickup, it doesn’t feel sluggish any more! I can’t even begin to assume what the increase may be in BHP but I would imagine it’s around the 5-10 mark. That’s certaily typical of what others have experienced.
I’ve hardly stopped smiling since buying the van but the smile is firmly in place now.
I recommend everyone does it! In fact my buddy who also has a T4 already has his plates on order.
I’ll try to get some illustrative pics up soon.
As a side note…
Some people blank both ends of the EGR and fully remove it, creating more room in the engine bay. Now I know that it’s worthwhile doing this mod, I’m going to order the other plate and remove the whole mechanism as it’s certainly surplus now!
PL
This weekend I knocked together this speaker box. It’s not quite finished, I’m putting some binding posts and banana plugs on it, so I can remove it when I need the space. I’ll cover it with acoustic fabric, perhaps to match the van sides, and add a couple of handles.
I couldn’t believe how good it sounded, probably not audiophile quality but it adds punch to my tunes on the move. I’ll probably look to add some baffles and a couple of bass ports to see how that sounds.


PL
I recently acquired a HTC Flyer as for a project at work. It hasn’t been used much recently, so I thought I’d give it a new lease of life in the van. For those of you who don’t know, it’s a 7″ Android Tablet which runs the Honeycomb version of Android, version 3.2.
I’m not the biggest fan of Android, it has to be said, I favour the Apple product lineup more but this is quite a capable device, with 3G and 32Gb onboard memory, microSD card slot and a pen (which I don’t use).
I decided I wanted to mount it in the space to the right of the head unit. I had a mount for it, which once upon a time would have been mounted to the vents, albeit not particularly well, but a friend of mine inadvertently stood on one of the vent parts and broke it. The solution was to attach it to a blank switch plate. I figured, instead of screwing holes direct into the dash, the switch blank would be the lesser of 2 evils and I can always find a replacement blank if I want to remove it.
You can see here I had to make two slots and a screw hole in the plate.

dHere you can see the mounting. The screw isn’t particularly aesthetically pleasing but it’s hidden so I don’t mind. I didn’t have any suitable black screws with rounded head in the right gauge.

Here is the sticky mount.
The green sticky pads (it’s a shame they aren’t blue) are what holds the device to the mount. They are surprisingly sticky too. If they get dirty, it’s a case of simply rubbing them with a sponge and some mild detergent and they are as good as new! Quite weird!

Next I simply place the Flyer on the mount to use whenever I need to. The picture shows the Car Panel which is pretty good for navigating while keeping an eye on the black stuff. The turn-by-turn navigation is also pretty good too and I’m sure it will come in pretty handy in the future.

I might have to rethink my in-van technology when iOS6 is released in Autumn. There is new Siri integration and turn-by-turn mapping included for free, so I think I’ll be looking at ways to mount an iPad (non-permanent solution) and find a new home for the Flyer!
PL
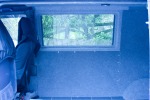
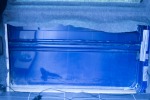
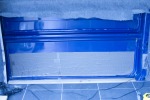
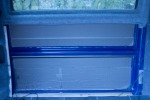
The last panel to be worked on for the re-insulation was the sliding door, so since the weather was still playing nice today, I decided to get stuck in.

Off came the panel and I was immediately faced with standard loft insulation, the sort that can soak up moisture, something we don’t want, so out it came.

Underneath the loft insulation there is some carpet, “loosely” adhered to the panels. I very much doubt this is doing any sound deadening or insulation… get out… NOW!

The backing on the carpet, where it actually had stuck to the panels, was not going to help the flash tape stick to the panels, so a quick clean with some soapy water and a non-abrasive scourer and we were ready to go.

Et voila. Clean enough to continue. We continue…

Three lengths of 225mm flashing tape straight onto the panels. I love using this stuff, it’s cheap, easy to work with and it makes a HUGE difference to deadening the noise when you’re driving along.
Some folks stick small patches on the panels but I’m more a fan of covering the whole panel, or at least as much as I can get to! Makes more sense to me!

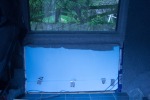
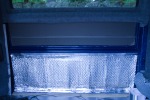
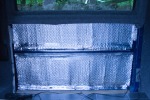
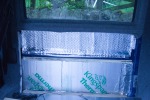
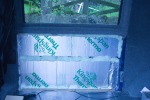
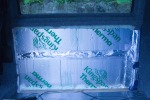
First layer of insulation with aluminium bubble foil. The cross members are a pain in the backside on this door, so this is comprised of three lengths of foil tucked in and stuck down with foil tape.

I decided to put the 50mm thick Kingspan in the middle section and 25mm thick Kingspan in the top and bottom panels. The contour of the door and the cross members pretty much dictated that 50mm all the way like the opposite panel wasn’t going to work.
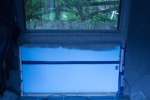
All gaps were filled with the recycled bottle insulation.

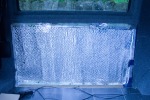
To finish off the insulation, I cover it all with some more foil, it helps to keep all the recycled bottle insulation in, it’s tidy and it adds to the thermal value.

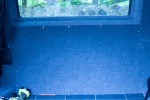
Panel back on, job done.
I need to look under the roof liner next as I know that will need flashing and a healthy dose of foil insulation. I’m quite happy with progress so far. It keeps me out of trouble 😉
PL
I found a break in the weather on Wednesday this week and decided to continue with insulation while the sun was shining. I forgot to take some pictures as I progressed as I was distracted by an unexpected visit by my brother.
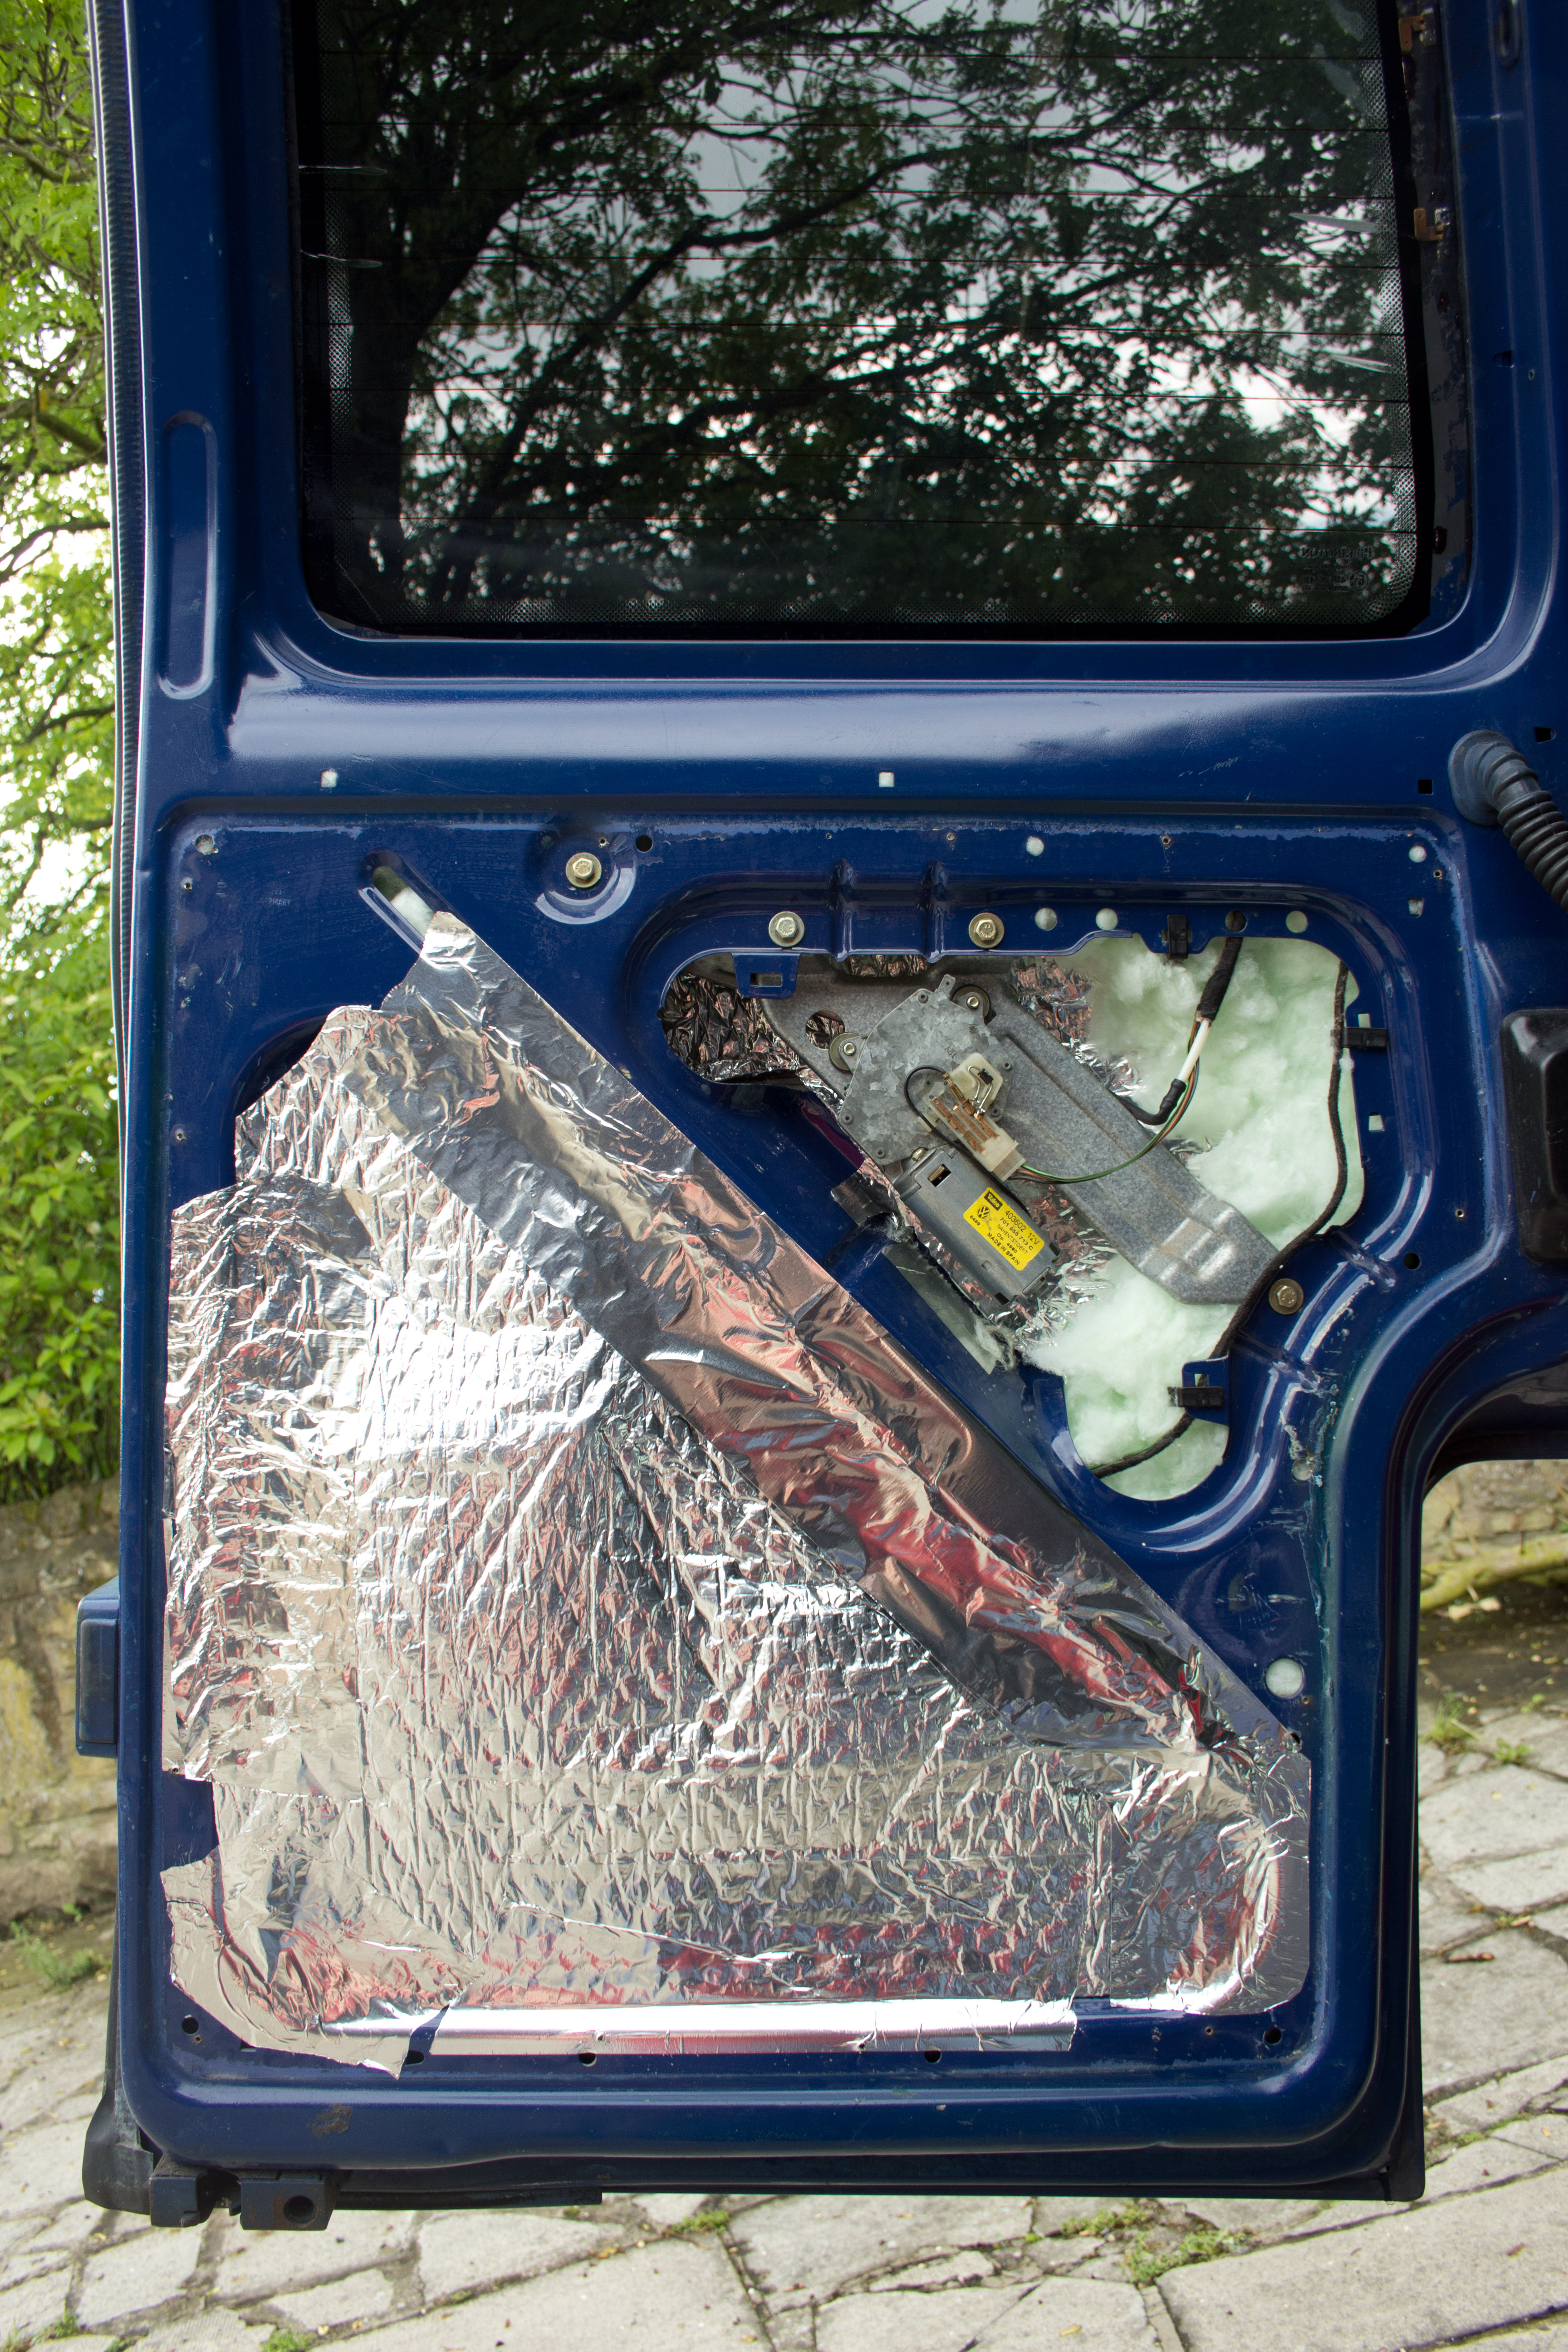
Today I took the van out and while the rain was once again pouring, one of the rear wipers stopped working, so when it stopped raining later (luckily another break in our otherwise soaking wet summer), I tried to figure out why it wasn’t working.
The wiper on the other barn door was working, so it wasn’t fuse related, so I took the panel off to see if there was anything obvious.
It didn’t take long to find out what had happened and it was down to my use of the recycled bottle insulation behind the wiper motor. The fibres got trapped in the arm mechanism and meant it would not move. I quickly pulled out all the insulation from that section and the wiper came to life.
I have flashing and foil attached to the panel, so I’m not overly concerned with the slight reduction of thermal efficiency, I’d rather the blades worked when I want to see out the back 🙂
Here’s a photo of the barn door with the panel off.
Next stop, the sliding door!
PL
I’ve been away for a week in New York and as such haven’t had any time to make any progress on the bus. I’m just waiting for the weather to play a little nicer and I’ll get right back on it.
I did just buy an Erde 142 trailer second-hand from a friend. It’s in great condition and will be just the job for carrying my camping gear without having to stash it in the van, making it more convenient to set up and use!

It has a spare wheel, jockey wheel, custom galvanised lid and a roof box to cap it off. What’s more it has little VW hub caps on the wheels… he must have known!
Now all I need is to get the tow ball fitted to the van and we’ll be sorted!
Meanwhile the bus looks on with curiosity from it’s resting place!

PL
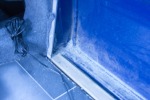
After pondering why my pictures have an awful blue tint to them today, I realised the 60D is set for Tungsten lighting. What a complete novice! 🙂 Now, when the heck did I set that?
More bus stuff when I can get today’s pics up, keep checking back!
PL
The van came with carpeted ply panels and some insulation inside. After reading a lot of forum posts, I’d learned of the best ways to insulate and sound proof the rear of the van, so I decided to look behind the panels to see how it had been done.
What I saw, in my opinion, was pretty inefficient insulation. This may have been sufficient for some folks but I wanted it to be thermally sound for those nights I would inevitable be sleeping in it (eventually). In the photos below you will see the blue polystyrene boards and simple tape to hold them in place. The series of photos I have taken will show dismantling, cleaning, flashing and re-insulating.
Sound-proofing is done with roof flashing.
The insulation process is
If this doesn’t make the van warm as toast, nothing will!
This was just one out of six panels. The offside rear, 2 barn doors, nearside rear and sliding door are next. Fingers crossed for some good weather!
PL
Just a little touch, a new gear knob with extension bar. It makes for a much better driving position and has a good feel to it at the same time. It also goes well with the colour of the paintwork!

new gear knob
PL
